Front Sway Bar Testing
Changing bars at the track isn’t going to happen, so let’s do the next best thing: Test it on it’s available settings.
It’s a bit hard to see due to the blue on black, but the lines drawn are just outside of playing “connect the dots” looking for highest peak grip on each setting.
So I have something to confess: One of the primary reasons I purchased the H&R 26mm FSB was because at the time I was looking for the 26mm RSB, TireRack had a screaming deal on the FSB as well. I figured if I hated it, I could always pull it off and resell it. The rear sway bar alone felt pretty good overall, not going to lie. So I procrastinated installing it for a while with only 2 events in 2022 remaining.
As a result for the very first event on it back in February of 2023, I ran the bar on the soft setting. As I said in the past, I’ve traditionally preferred more spring than sway bar for track setup on FWD cars, so was very skeptical of adding more front sway bar in this case. I never actually tested the soft vs stiff at that first event (and realistically it’s probably good that I did not, as it was the first real heat cycle on the newly installed V730s and they were not exactly great yet).
Fast forward to May. I had a Saturday-Sunday 2 day HPDE with the Tidewater Sports Car Club, with the Friday preceding being an 8hr private test day for a friend’s wedding. This was prime opportunity to actually make some changes to the car in an attempt to not just go out there and drive like I usually prefer to do (remember the driver is the most important thing?).
For reference:
Stock springs, 034 camber plates, Powerflex offset LCA bushings and BFI “solid” RS3 style LCa bushings, plus Koni Special Active shocks
Conservative IS20 tune with stock downpipe, DO88 intercooler. 23psi tapered to 16 at redline.
17x9 Apex SM-10 wheels with 245/40R17 Kumho V730s at all 4 corners
When I was prepping for the event, I actually adjusted the front sway bar to the stiff setting specifically because I knew of my potential to be lazy and not even try.
First we’ll look at the simplest thing: Lap times.
Prior personal best for reference: 2:14.97 in February 2023, with the Garmin's predicted “Optimal Lap” being a 2:13.37. For those who do not know, it only uses data from when you were actually driving. It will not predict something you have not already done. Note that there were also some other minor changes to the car since the February event (switched from an 8BP ECU tune to now tuning myself, albeit with near identical power and boost curves, plus installed Powerflex offset LCA bushings and BFI “solid” rubber front LCA compliance bushings). This is just for reference, all the below tests were done with no other changes aside from those mentioned.
First session out with FSB set to stiff targeting 30psi hot in all 4 tires: 2:13.40 - about 1.5sec improvement over my prior PB, and the Garmin showed an “Optimal Lap” of 2:13.23.
Second session out with FSB still on stiff targeting 35psi hot in all 4 tires: 2:12.55 - another 0.85sec improvement immediately! By far the largest difference was being able to carry more speed through the climbing esses and lean on the car harder while trail braking. I managed this even with braking way too much/too early entering T12 Rollercoaster.
Third session was still with the bar on stiff, but was using it to help a buddy find the line so it was nothing but 2:18-2:25s doing lead-follow.
Fourth session was with the sway bar adjusted to the soft setting and still 35psi hot in the tires. I managed to run a 2:15.01 followed by a 2:15.60 the next lap.
Fifth session was with the sway bar on soft and back to 30psi to see if that maybe helped. I managed to only run a 2:16.78. Way slower, and frankly I think driver fatigue was setting in at this point.
So obviously I ran a notably faster time with the FSB set to stiff. Temperature plays a huge role in how fast these cars will go (primarily in the straightaway top speed department). For the record there was only a 10F (60F up to 70F) difference in ambient temps between sessions 2-5 . Session 1 was prime boost weather at 50F, but with tire pressures getting established, getting my head straight, etc I rarely run my very fastest in the first session of the day. So with the temperature variable established, how did going faster show up in the data? And was I just plain driving better or did it legitimately give more grip to allow me to go faster?
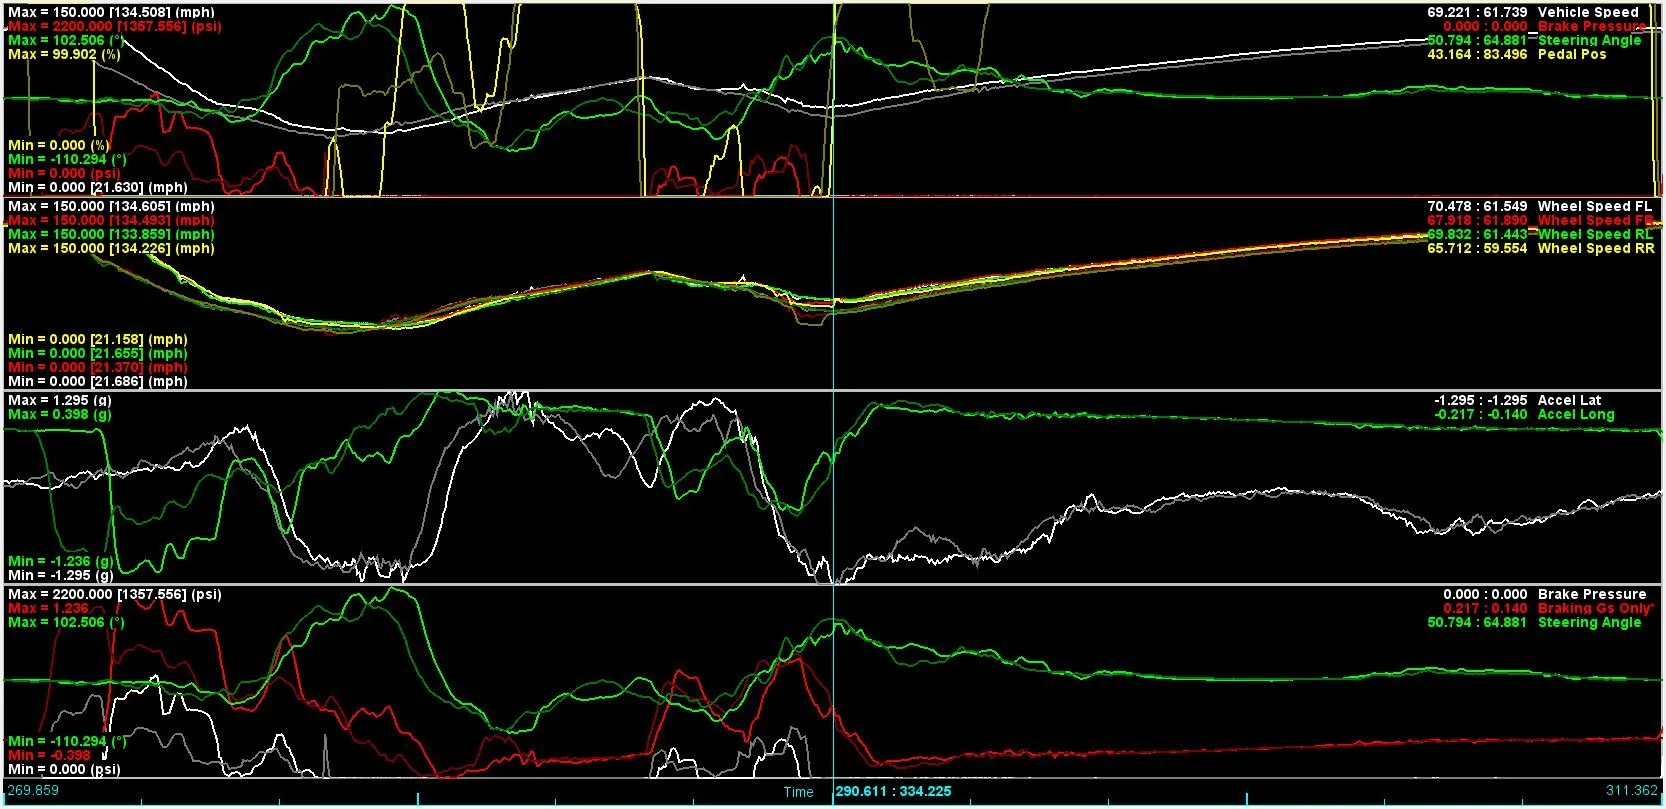
That is where the chart at the top of this article comes in. Every little “dot” represents a “hit”. The X axis is lateral G-forces, and the Y axis is longitudinal G-forces. Left (negative) is left turns, right (positive) is right turns, up (positive) is acceleration, down (negative) is deceleration. Note that for each plot, it is with BOTH test sessions, not just picking from the very best.
Those plots make up what you can call the “friction circle” or understanding how well the car makes grip under purely lateral or purely longitudinal forces… or any combination of the two. Any non-filled in areas is purely from a lack of turning + braking forces that are just not present at VIR (the notable “dip” near hard braking RH turns).
So what does the plot tell us? Look at how much further downward on the far left and right of the plot that the stiffer sway bar setting can go? All of the speed gained is in being able to multi-task better. You can get on the brakes harder at at an otherwise identical level of lateral force… or you can give more steering input while braking (trail braking more aggressively). Why is this? I believe because the front tire isn’t losing as much camber, you can essentially lean on it more when slowing the car down.

Why do some people say that the car will “push” with a big front sway bar? Running a bigger front sway bar will depend heavily on the overall setup of your car. There are several ways to set a car up when it comes to overall roll stiffness with regards to springs and bars, and I just plain haven’t tested them all on this platform. I guarantee it’s not the answer to everybody, but it seems if you’re closer to stock-ish spring rates it makes a pretty quantifiably significant difference from my sample-of-one testing.
It is important to understand you HAVE to change your driving style when you do something to fiddle with the available grip. A driver who does not trail brake aggressively down to the apex will likely not show the same scatter plot results as above because they just won’t be feeding the car those multi-tasking inputs to take advantage of the potential grip. I’m fortunate to have driven/co-driven a LOT of wildly different cars at autocross events (a different car at every event in 2018-2019). You learn very quickly how to “feel out” the car to find what grip is available, what inputs the car likes, and what inputs the car does not like… hopefully not too abruptly. Some cars/setups require very smooth driving to extract the most from them, some cars you need to grab by the scruff of the neck to wring out it’s best potential.
If there’s any conclusion I’ve come to it is that making changes is absolutely worth trying, and even if you’re skeptical, it might just be what helps you drop another second or two.